There’s no doubt that the iPhone is a phenomenal video-making tool, but there are a few small tips you need to learn before fully integrating the iPhone camera into your workflow.
This article features just two tips for any iPhone video makers, but if you want to learn more about making content on the iPhone 14 Pro, check out this full video shot exclusively using the iPhone’s cameras and microphones.
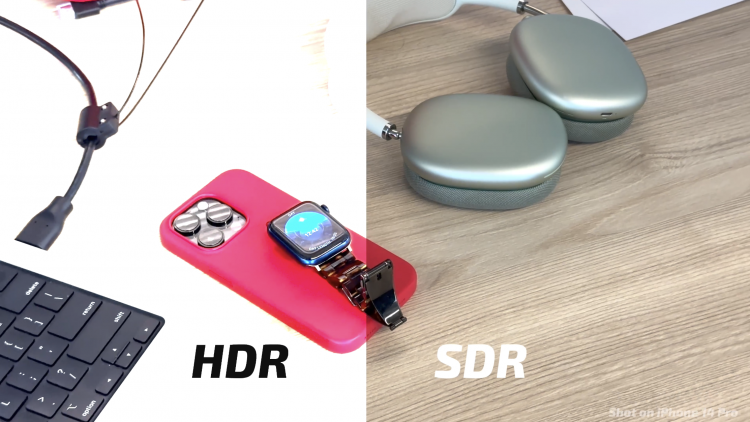
Turn off HDR
HDR looks excellent in isolation, but it starts to look bad once you take that incredibly bright footage outside of the Apple ecosystem. Traditional videos you watch are in the REC 709 colour space because that’s what most TVs and screens are tuned for.
However, as phones get more powerful and mobile screens brighter, we’re starting to experiment with HDR footage. However, this footage only looks good on HDR displays, so as a rule of thumb, if you plan to edit your footage on a computer and distribute it on anything other than phones, turn off HDR to save yourself a lot of work.
The phone still records a video with the sky, your face and background exposed correctly. It just does it in a slightly less dynamic/bright colourspace.
You can turn off HDR by opening your iPhone Settings app and navigating to the Camera area. Tap on the Record Video section, and you can disable HDR video.
AirDrop has settings?
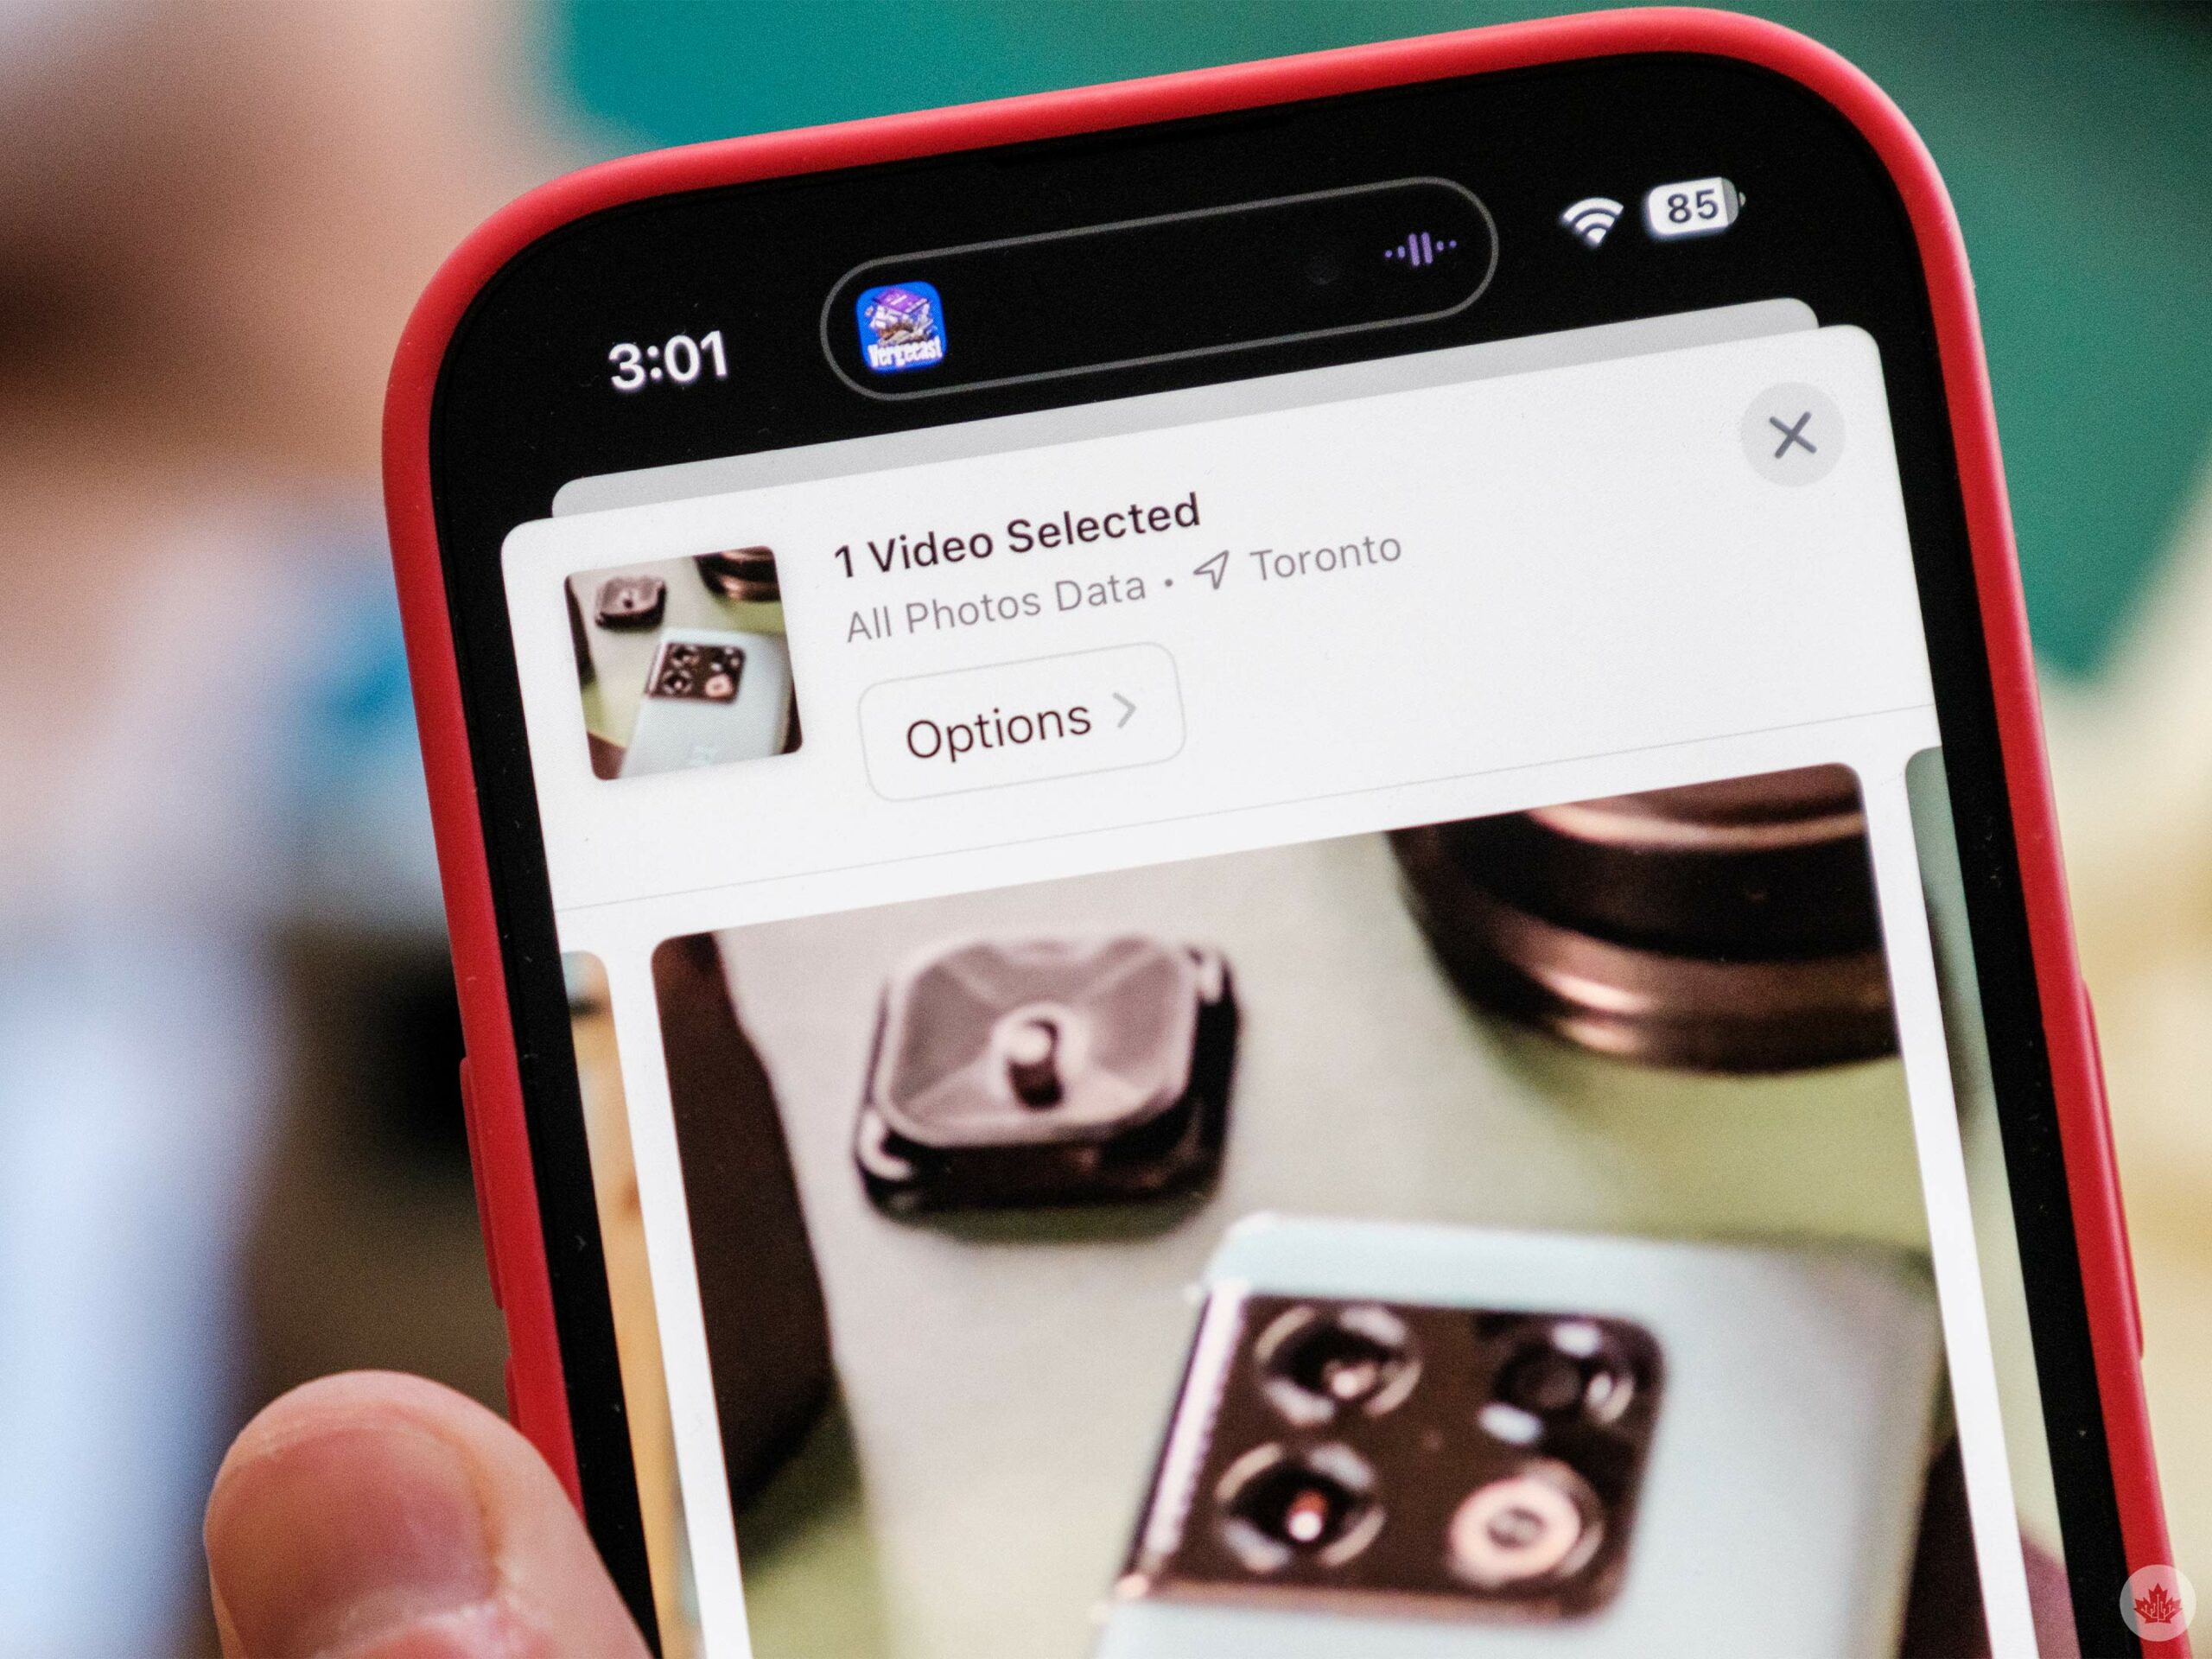 If you shoot Cinematic mode on the new iPhones and AirDrop those videos to your iPhone, you might notice that you can no longer adjust the digital blur. This is because you need to enable metadata when sharing Cinematic mode videos.
To do this, open the Photos app, tap on a Cinematic mode video and then open the share sheet. I never noticed that at the top of the screen, there’s a small ‘Options’ button and taping on that allows you to attach advanced metadata to your photos and videos.
You can enable all the data on any photo/video, but I only want it with Cinematic mode video so I can edit those files in Final Cut.
Source by mobilesyrup.com


