Want to know more about how to build your own personal computer with a Raspberry Pi? Read on!
Building a personal computer (PC) can be a pretty fun project, not to mention a useful one. Sure, the finished thing might not necessarily match many readymade PCs in terms of power or capability, but simply putting it all together can teach you a lot about DIY tech.
You could also anticipate regularly using the PC for both leisure and productivity if, app building, or work. If you are struggling to find a big-brand PC that delivers everything you need at a sufficiently attractive price. To get started, you should invest in your makeshift PC’s brain. This could be a Raspberry Pi…
Why Build Your PC Around a Raspberry Pi?
Usually, assembling a fully-fledged PC can require you to pick up quite a few pieces — including a graphics card, a CPU and an SSD. However, the prices of these have risen recently due to demand outstripping supply, which has tightened.
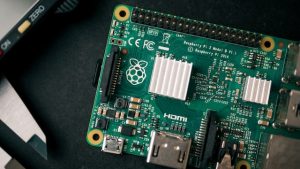
https://unsplash.com/photos/hSHNPyND_dU
All of this applies even if you only want to make a PC for use in a few relatively rudimentary tasks — like web browsing, watching streaming video and editing documents.
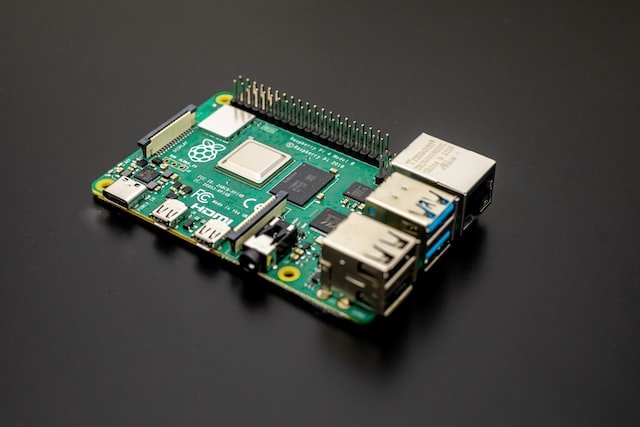
PCWorld Senior Editor Alaina Yee therefore advocates that you turn to a Raspberry Pi 4, as it “has nearly all the elements you need for a PC built in”. These elements include a processor, RAM, USB ports and Wi-Fi and Bluetooth connectivity.
What Would You Need to Add to the Pi?
If that Pi is a Raspberry Pi 4, Yee sums up the only necessary additions as “power, storage, and (ideally) a case.” Though the Pi could technically be run without a case, it is recommended that you have one in place in order to shield the Pi’s circuitry from hazards including dust and pet hair.
You could make things even easier for yourself by opting for a Raspberry Pi 400. One comment on The Technology Land’s website describes this particular Pi model as “basically a keyboard with the Raspberry Pi built into it!”
The specialist online store The Pi Hut even sells a Raspberry Pi 400 Personal Computer Kit — the contents of which include a USB mouse, a USB-C power supply, a 16GB microSD card and a micro-HDMI cable.
You would, however, still need to get yourself a monitor or TV for the project so that you can provide yourself with a screen on which to see your Pi-based PC’s software interface.
What if You Will Be Using a Raspberry Pi 4?
In this situation, the extra components you need to buy include a microSD card — and you will be able to install Raspberry Pi OS on this.
Another necessity will be a USB-C power supply that outputs 5 volts at 3 amps, while a keyboard, a mouse, a micro-HDMI cable and a monitor are further accessories to put on your shopping list.
As for how you can put all of this together, Yee has provided a detailed guide covering this subject on the PCWorld website. She has also shined a light on Pi-friendly solutions for browsing the web and streaming video and audio.
Source by techmused.com


