You don’t need to master video editing to trim videos on your Windows PC. From the built-in Photos app to the newly integrated Clipchamp, there are multiple methods for trimming videos on a Windows computer.
And all of these methods work more smoothly than any Android or iOS app video-trimming app, thanks to the more powerful hardware of a PC. So here are the four ways to trim videos in Windows.

1: Trim Video in Windows Using the Photos App
The Photos app may not be a fully-featured video editor, but it can trim videos just fine. You can cut out a single chunk from a longer video file or trim multiple segments and combine them at the end.
The best part is that the app is present in all versions of Windows 10 and 11, so you don’t have to look for a new tool.
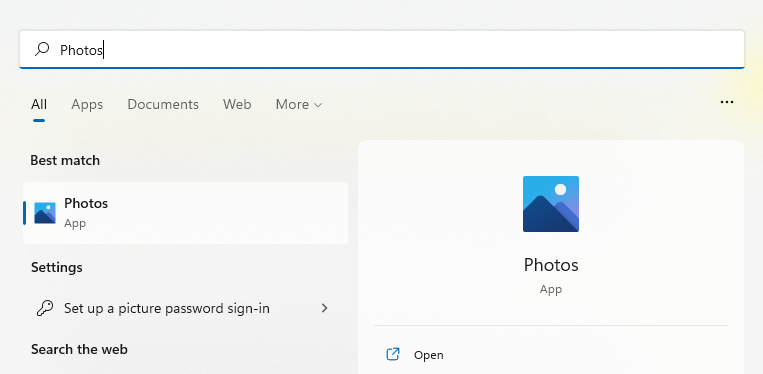
- Open the Photos app by searching for it in the Start Menu.
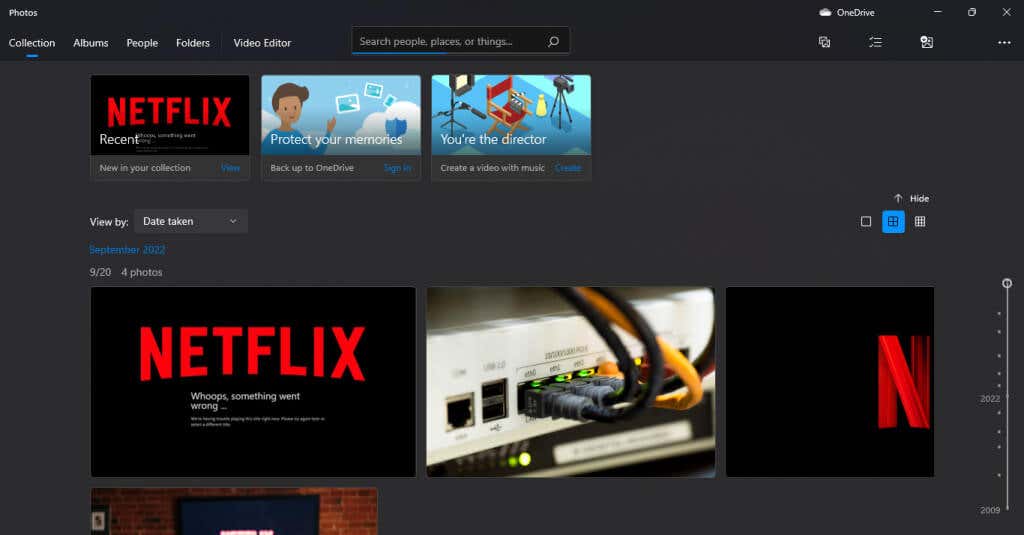
- By default, the app opens in the Collection tab, displaying your recently acquired pictures. Switch to the Video Editor.
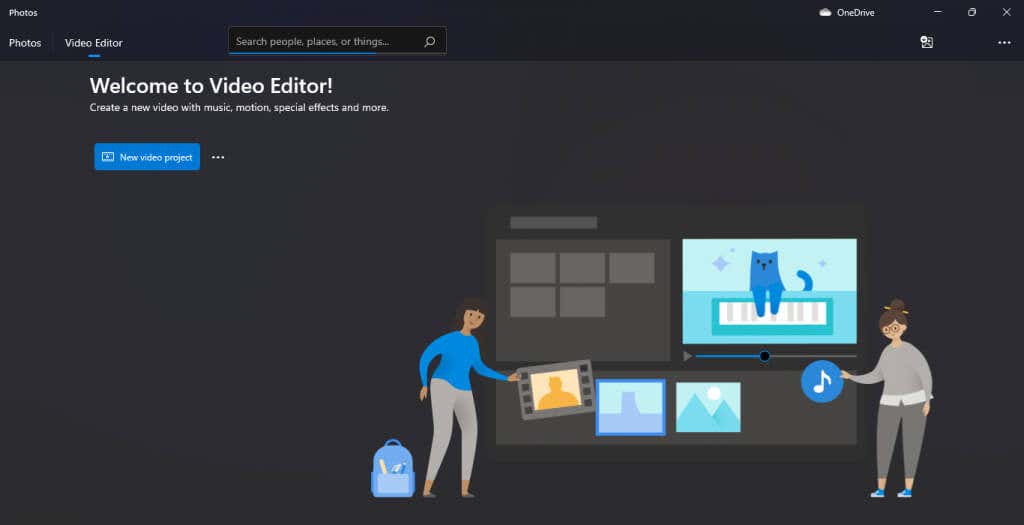
- Click on the New Video Project button to start editing your videos.
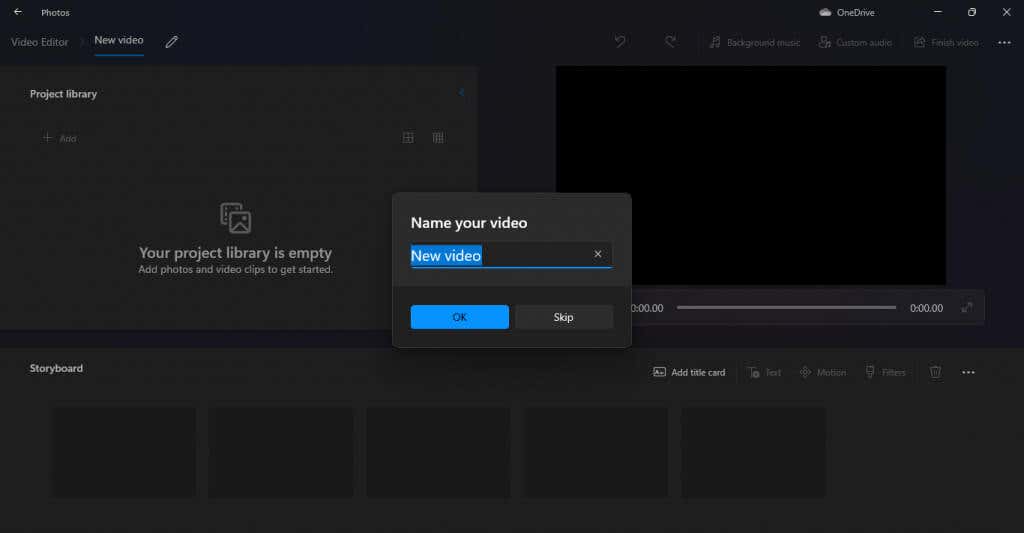
- A new video project will open, prompting you to title it.
- Before we can start trimming a video, we need to add it to our project first. Click the Add button under the Project Library on the left side and select the From this PC option.
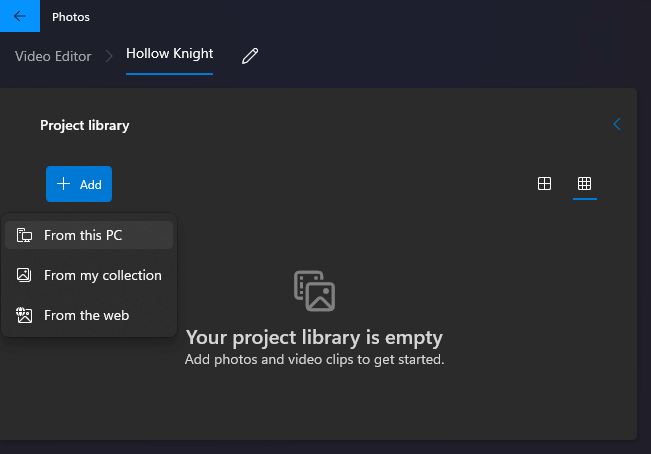
- Navigate to the folder containing your target video and select it. The video will now appear in your Project Library.
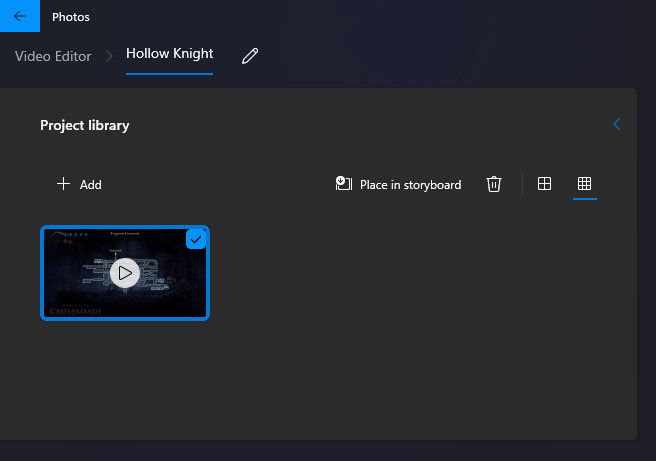
- To start editing, drag the video to the Storyboard at the bottom.

- Now you can see multiple editing options in the Storyboard tab. Select Trim to proceed.

- The interface changes to display only the current video, with a draggable slider at the bottom and the current clip length on the right.
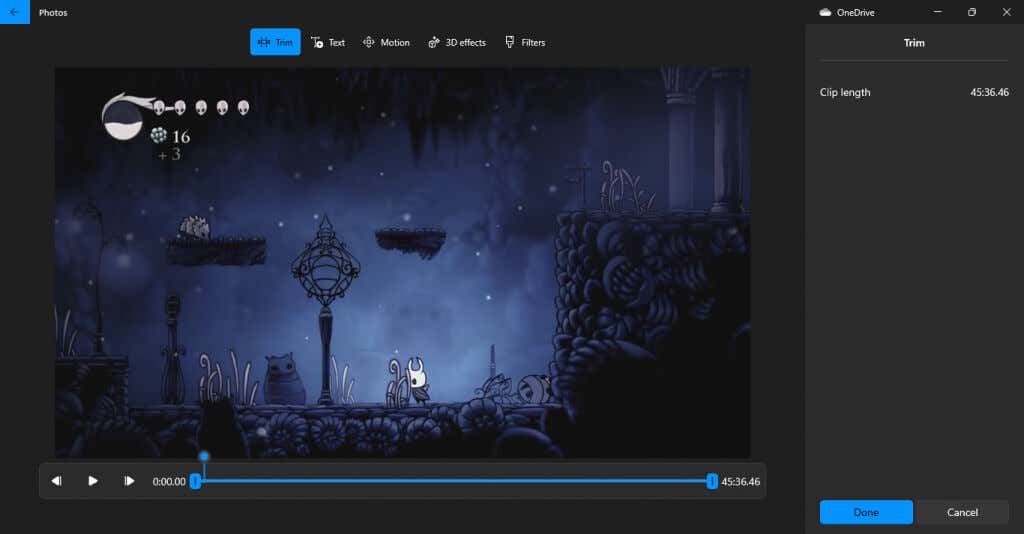
- Pull the sliders to trim the video down to the size you want, and select Done.
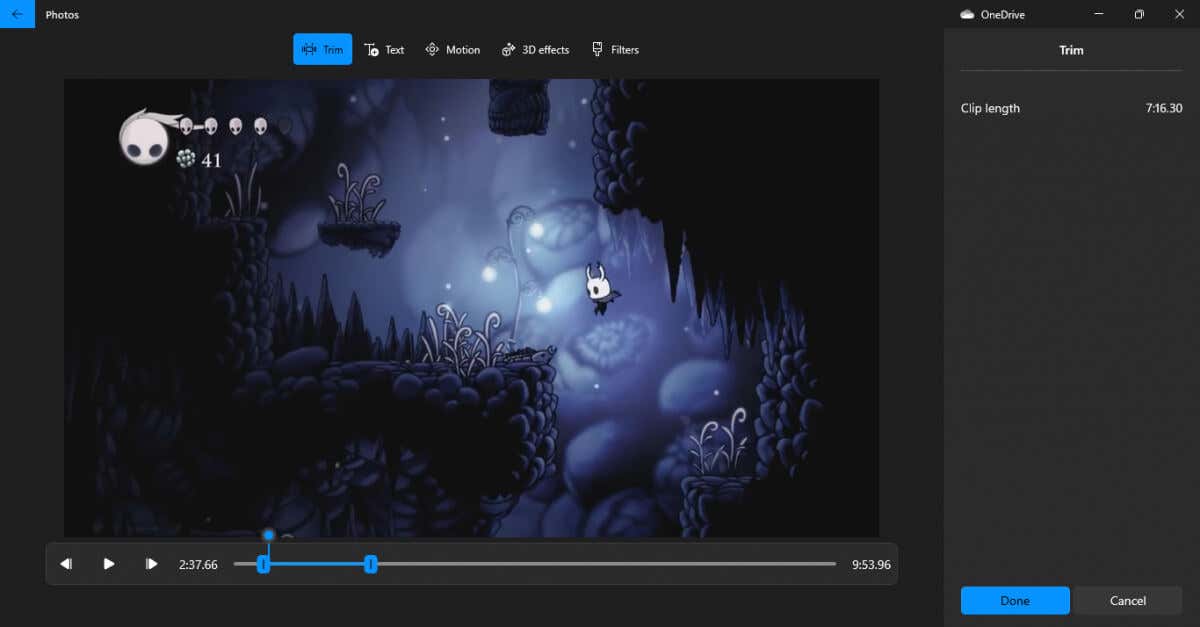
- The Storyboard will now have the trimmed-down clip. The good thing about this method is that you can also combine multiple clips to create a combined video. Just drag down another video into the storyboard and trim them as needed.
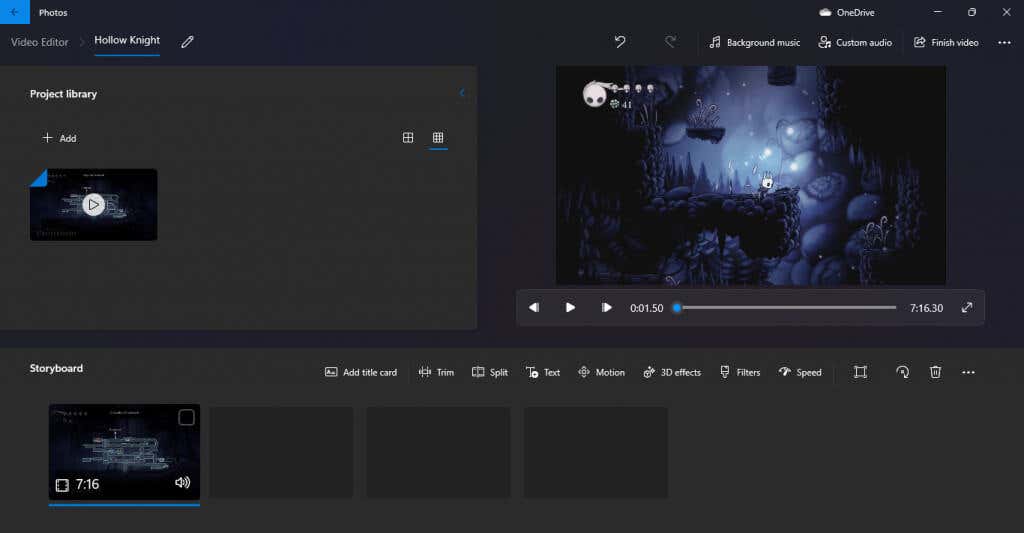
- When ready to export the results, select the Finish video option from the top right.

- Specify a video quality, and hit Export to save the video.
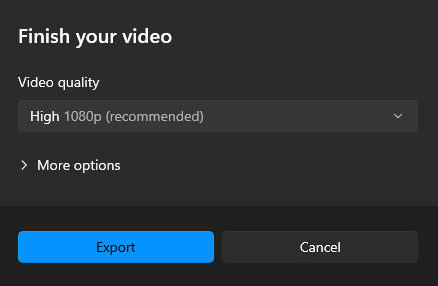
- Once you select a file name and location, Photos will start exporting your video clip. This might take a bit of time, depending on the length of the video and your PC’s hardware capabilities.
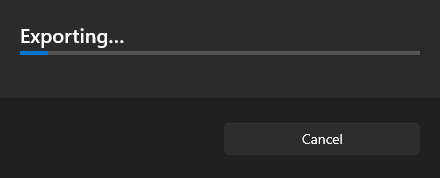
- The saved clip will start playing in a new window when the export is complete.

2: Trim Video in Windows 11 With Clipchamp
For those not in the know, Microsoft recently acquired the popular online video editor Clipchamp. And now, the app’s desktop version comes bundled with the latest update of Windows 11.
This free version lets you trim videos, apply animations, and export the final product without watermarks. It is much easier to use than the default Photos app and the perfect way to make clips if you use Windows 11.
- In case you have Windows 11 but haven’t installed the update yet, you can find download it from Settings. Open the settings app by clicking on the gear icon in the Start Menu.
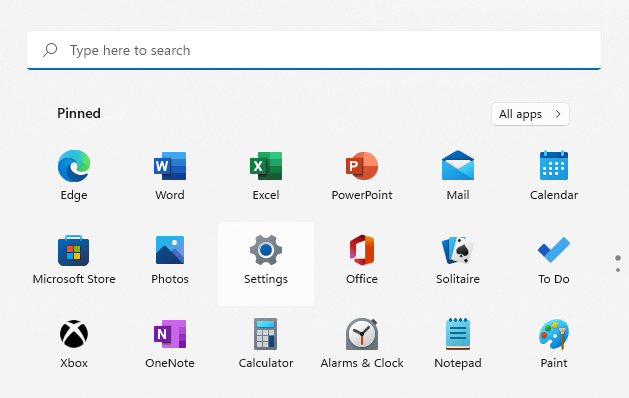
- Head to Windows Update and see if an update is available. We’re looking for the Windows 11 version 22H2 update. Click on the Download & install button to get it.
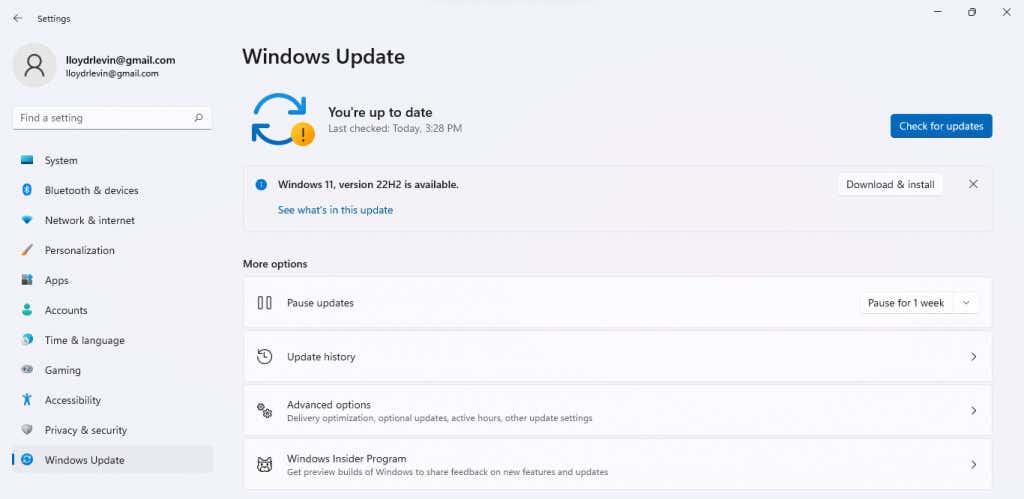
- After accepting the license agreement, the update will start downloading.

- The installation will start as soon as the download completes. As most of the process operates in the background, you can continue working on your PC while the update installs.

- To finish things up, you need to Restart your computer. Select Restart Now in the notification that appears.
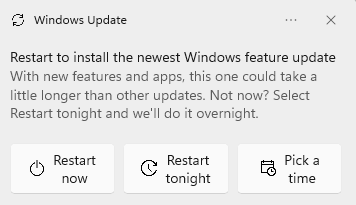
- Now we can actually start using Clipchamp. Open the app by searching for it in the Start Menu.
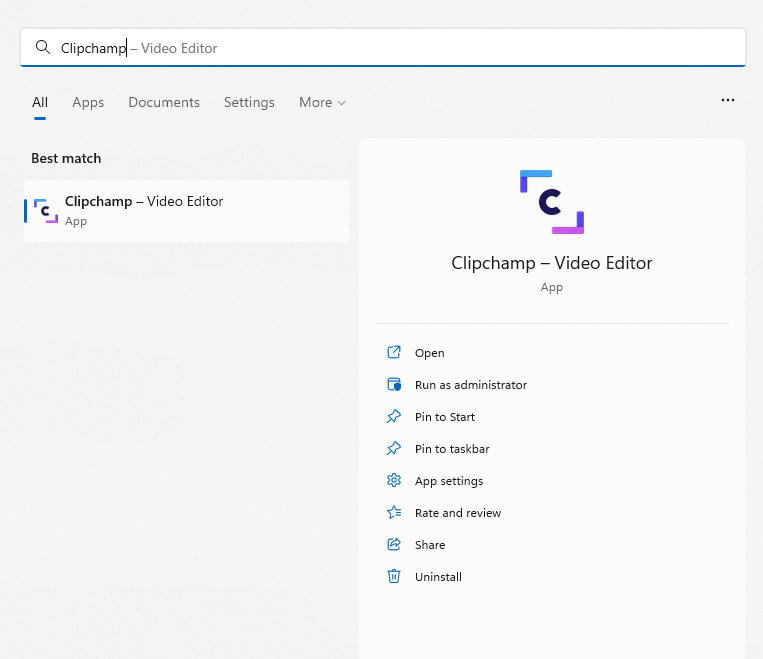
- If this is your first time opening the app, you will be prompted to sign in with your Microsoft or Google Account.
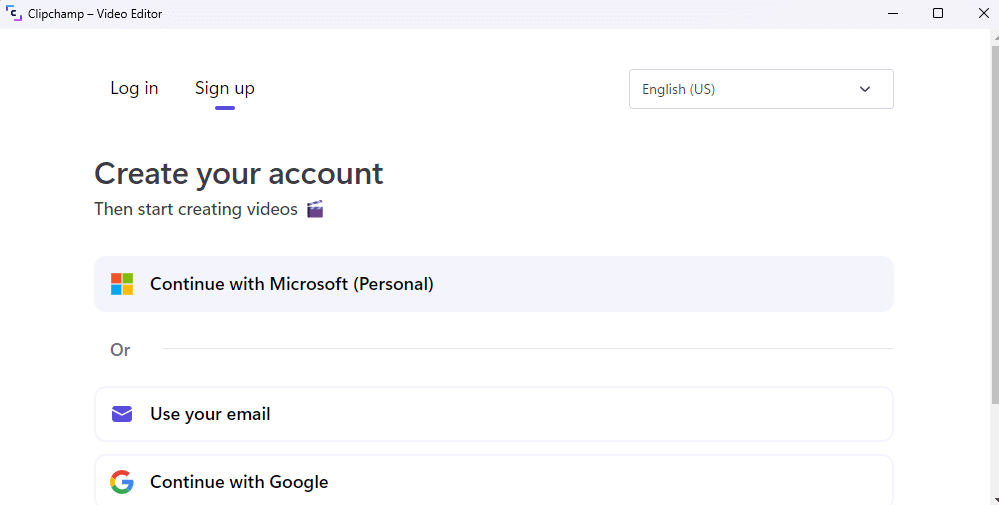
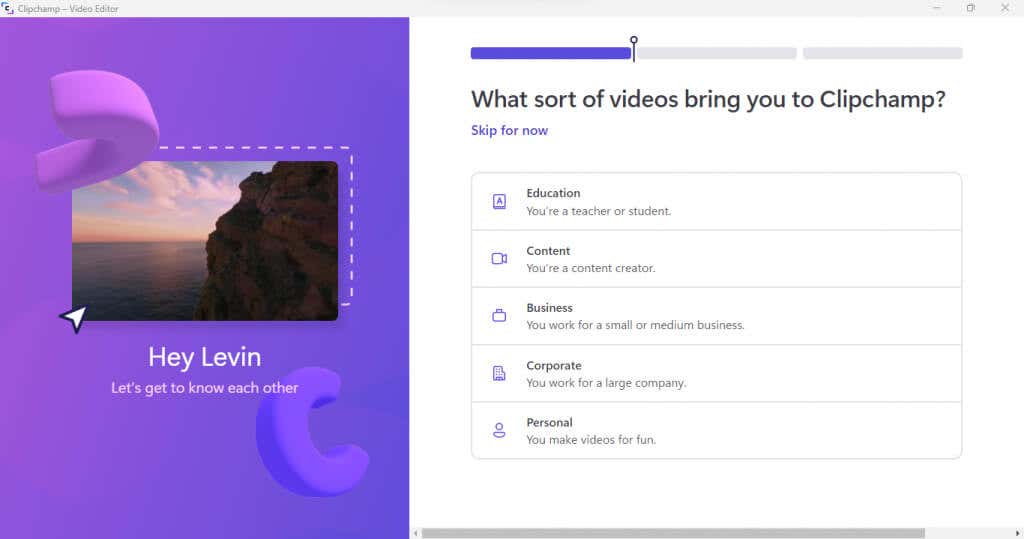
- After you log in, you will be presented with a questionnaire that you can choose to Skip for now.
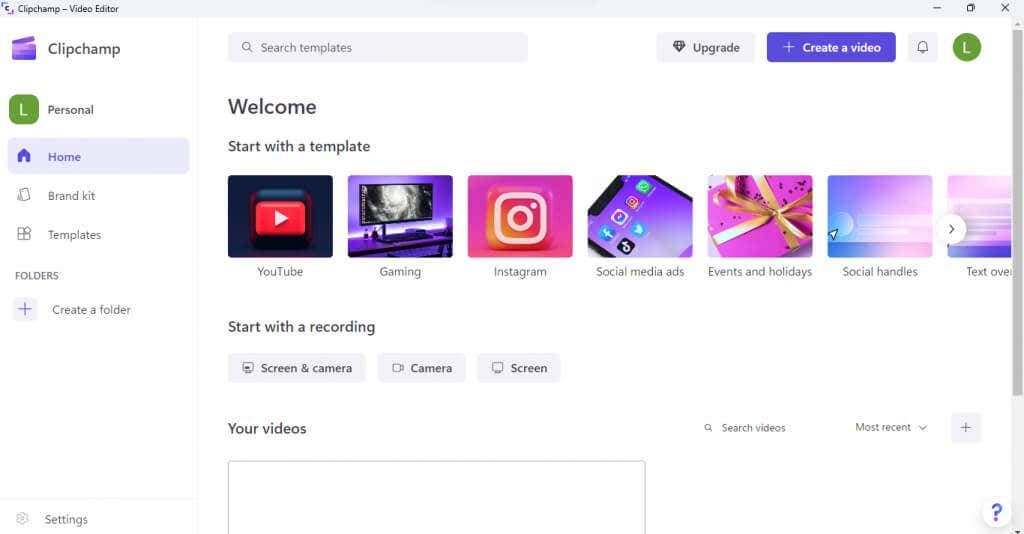
- The Clipchamp desktop app will now open in full. You can start with a bunch of video templates, though we will use the Create a video option for now.
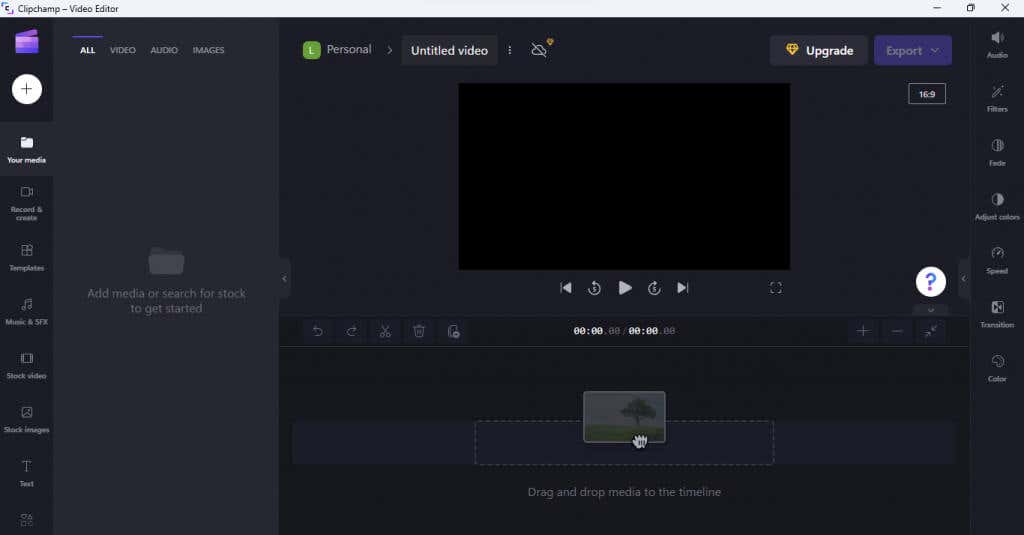
- The editing interface is similar to the Photos app, with a storyboard at the bottom and your added media on the left.
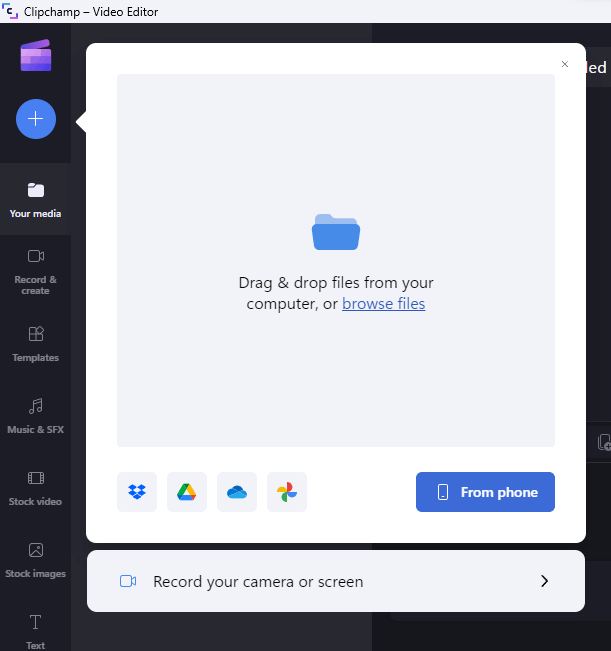
- Use the + button on the top left to import a video. Clipchamp has far more options than Photos, allowing you to add photos from your phone, camera, or a cloud storage service. Select browse files to import a video present on the disk.
- Your imported video will show up on the left panel, ready to be edited.
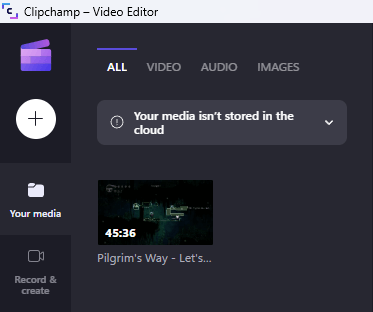
- Like in the Photos app, you need to drag the video to the storyboard.

- This will open the video, displaying a thumbnail slider at the bottom.
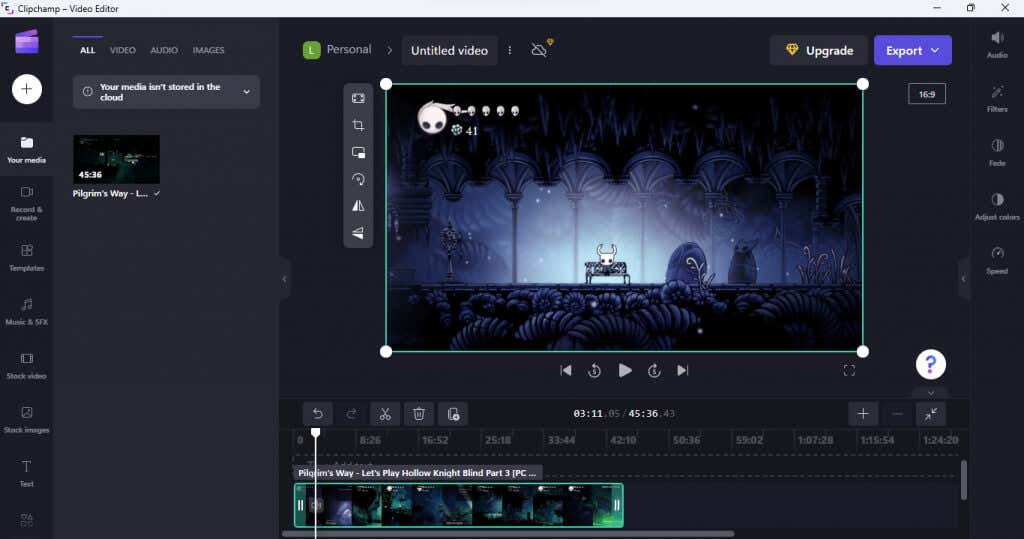
- To trim the video, just drag the sliders in from the sides. You can judge the length of the clip by the time stamps displayed above the thumbnails.
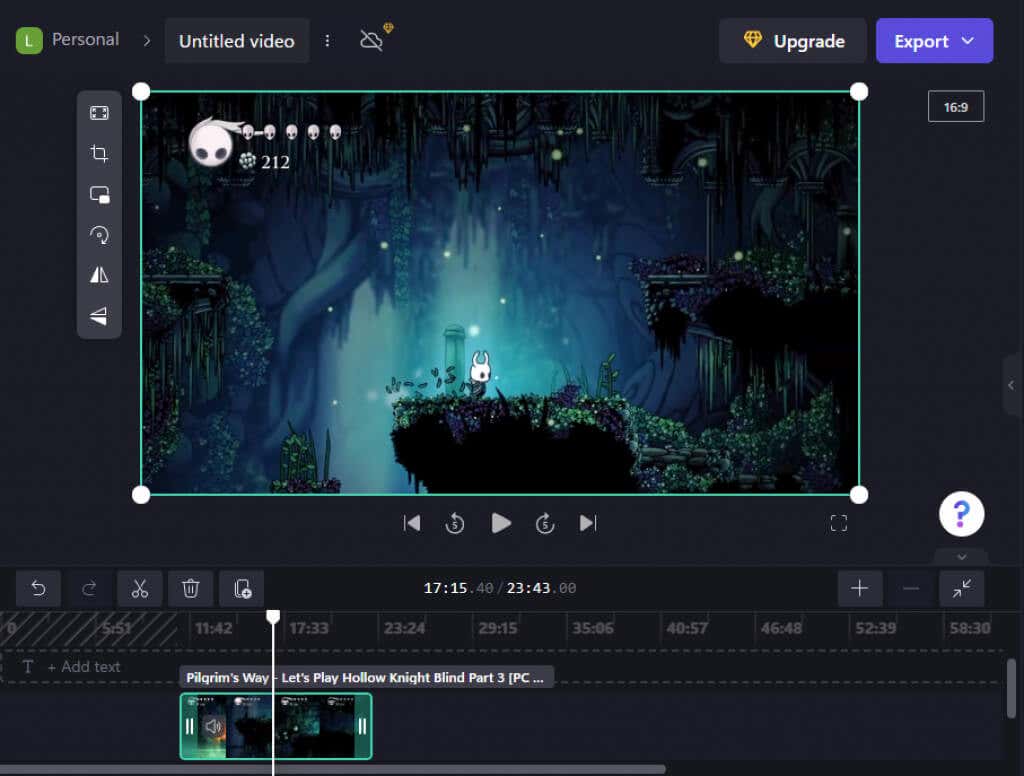
- When done, use the Export button on the top right to save the clip.

- Clipchamp will start exporting your video. You can also share the clip to various social media platforms from this page itself.

- Once the process is complete, the clip will show up as a downloaded file on your computer.

3: Trim Video Online Using Canva
Clipchamp is already integrated into Windows 11, but there are other online video editors. If you are using an older version of Windows, Canva is a great option to trim videos through a web browser.
Most know Canva as a design tool for creating things like flyers and business cards, but it also features an easy-to-use video editor. While advanced features are locked behind a paywall, you can easily trim videos for free without a watermark.
- To trim a video with Canva, head to its website’s video editor and use the Edit a video button.
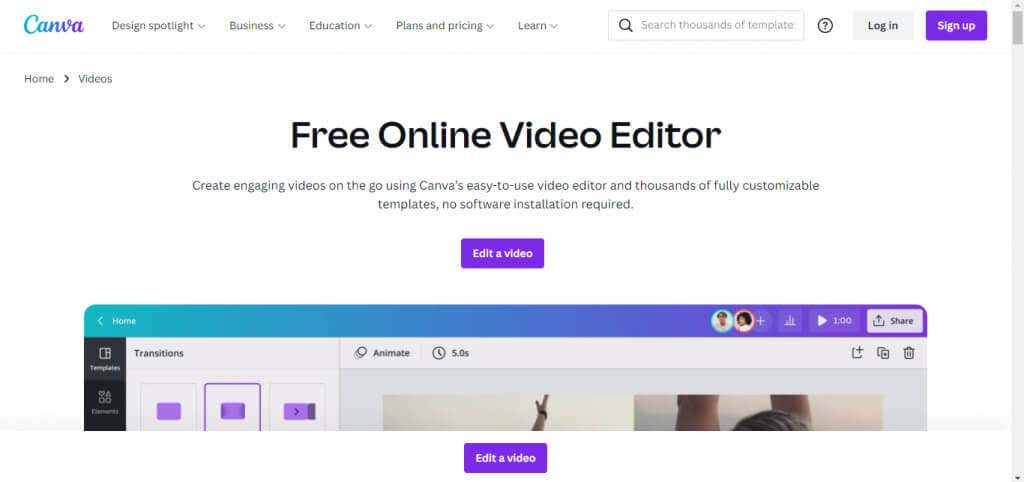
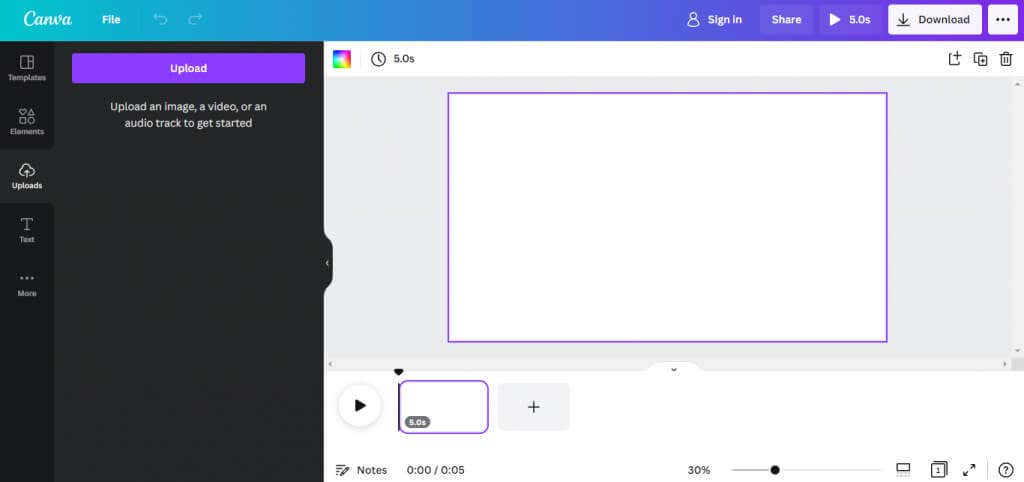
- The video editor will open in a new tab with a familiar interface. Click on the Upload button on the top left to open your video.
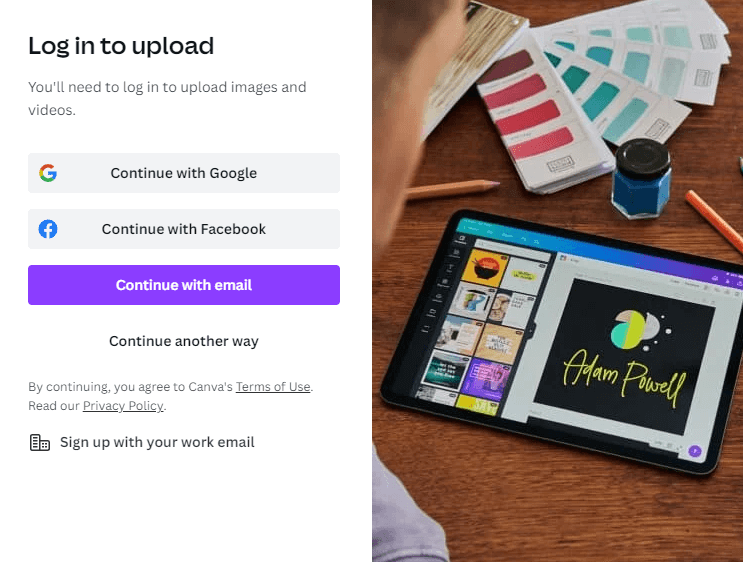
- If you haven’t logged in yet, Canva will now prompt you to do so. You can use a Google account, email ID, or Facebook account for this.
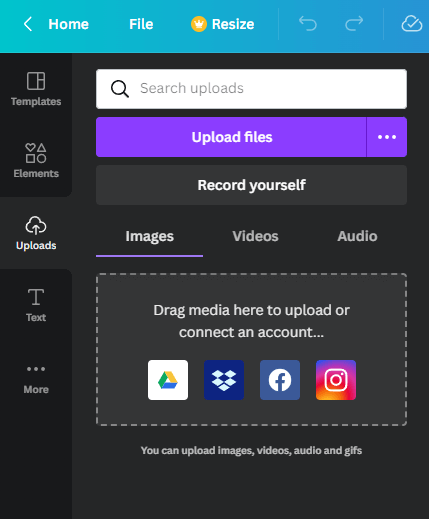
- Once you are logged in – and have closed the advertisement asking you to upgrade to Premium – you can finally start uploading videos. You can record videos, import them from other apps, or just choose a file from your computer.
- The selected video will start uploading, displaying a progress bar below it.

- To edit the video, you must drag it to the storyboard panel at the bottom right.

- The video will start playing on the top right panel, with a series of thumbnails displayed at the bottom. Simply drag the edges of the timeline to remove part of the video.

- When you are satisfied, click on the Share button on the top right. Here you can choose to directly share the clip to your social media, though we are going to select the Download option for now.
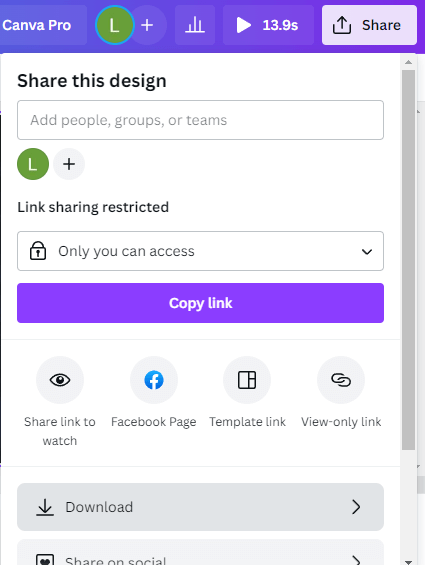
- Specify a file type, and select Download. The file size will depend on the length of the clip and the type of encoding you choose.

- The clip will start downloading, accompanied by an ad by Canva. The actual browser download will start once this progress bar finishes.

4: Trim Video Offline With OpenShot
The problem with professional video editing tools is that they add a watermark to your videos unless you get a paid license. Fortunately, there are some incredible free video editors that you can use without shelling a buck.
OpenShot is the best of the bunch, with a rich feature set and a polished interface. It may lack some advanced features in premium editing tools, but it is perfect for trimming videos.
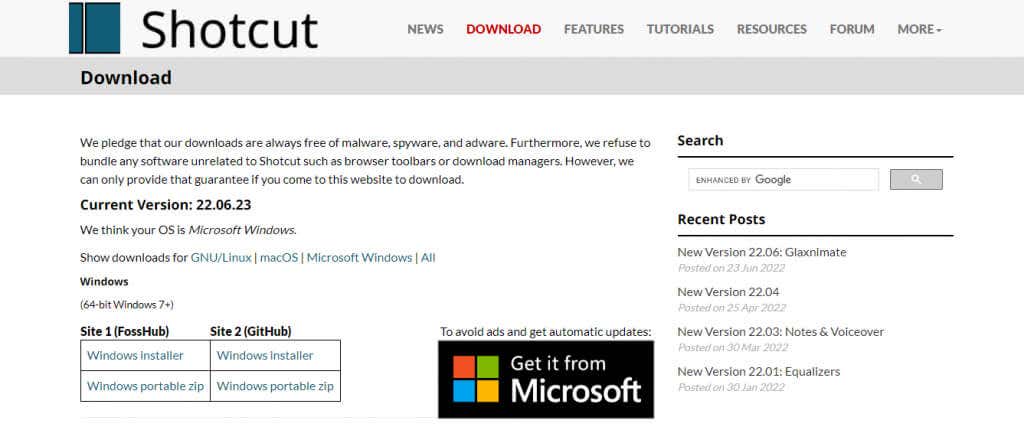
- Head to Shotcut.org to download the free editor.

- The tool is available for all PC platforms, both as an installer and a portable app. You can also get it from the Microsoft store.
- Running the app opens a dark-themed window with the usual layout of a video editor.
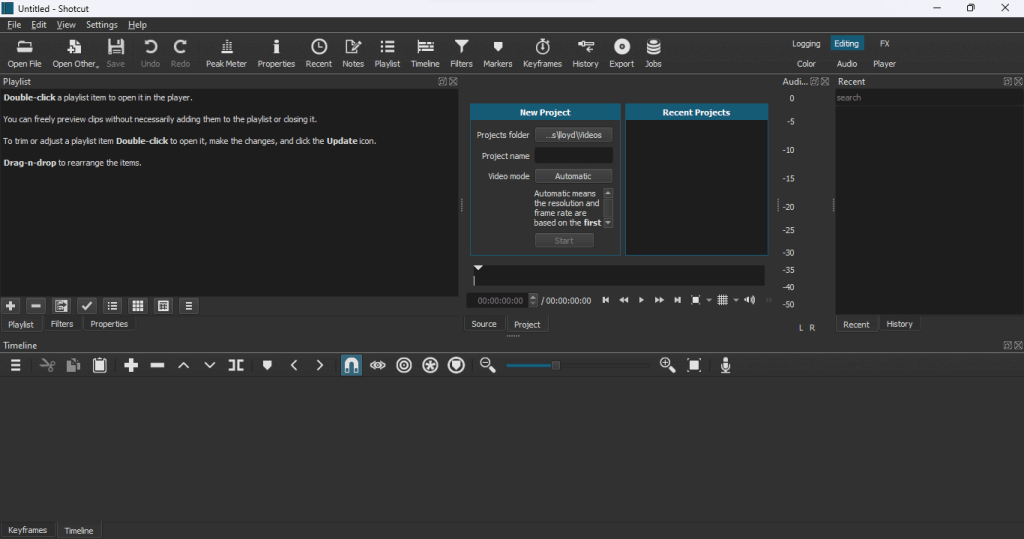
- Click on the Open File button on the top left to import a video into the editor.

- The loaded video will immediately start playback on the right. Pause it from the video controls below the player.
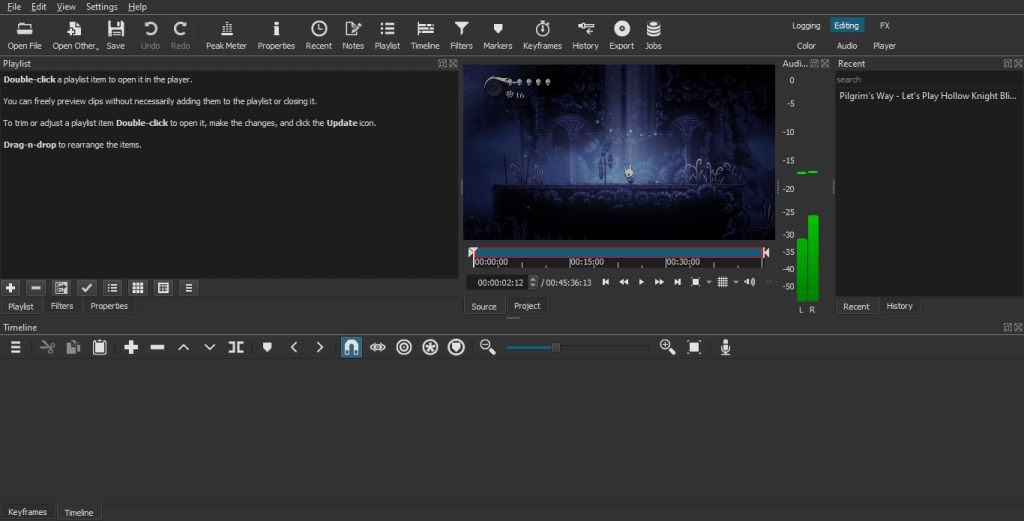
- To trim the video, drag the white arrows at the edges of the progress bar.

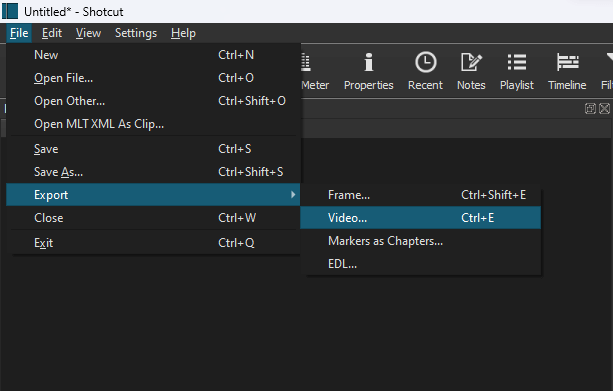
- When you are done, head to File > Export > Video… or just hit Ctrl+E.
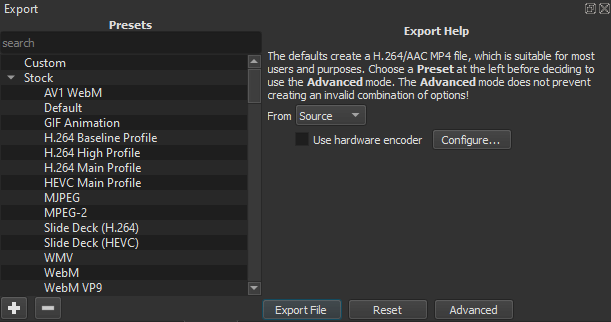
- You can choose from various Export Presets to specify a particular video format, though the default is good enough for most use cases. Click on the Export File button to save the video on your PC.
- As the video starts exporting, its progress will show up in the Jobs panel on the far right.

- Once the process is complete, you will see a green check mark with the clip’s duration.

What Is the Best Way to Trim Videos In Windows?
The default Photo app is the simplest way for a Windows user to trim videos. It’s easy to use, good enough for this small task, and comes already installed on your PC.
For those running the latest version of Windows 11, Clipchamp is a better option. It comes with social media templates, stock footage, and various filters you can apply to a video. It also has a more user-friendly interface, making it a better tool for casual users.
Built-in apps aren’t the only methods either. You can try an online video editor like Canva or download a third-party tool like Shotcut. Any of these options will let you cut videos and export them without a watermark.
Source by helpdeskgeek.com


