FP TrendingOct 03, 2022 13:45:53 IST
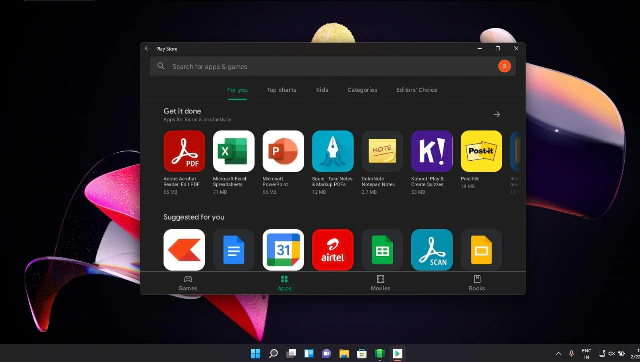
Google Play Store offers us a wide range of diverse apps for both professional and entertainment purposes. So, it is no wonder that you would not want to limit your android experience to just your smartphone. It is possible to enjoy all the apps offered by Google Play Store on Windows 11.
Wondering how? You will first need to uninstall Windows Subsystem for Android and enable Developer Mode in order to begin downloading Google Play Store. Then, you will have to install the modified Windows Subsystem for Android, which is obtainable from GitHub. Here is a step-by-step guide to the process, according to Android Authority:
Steps for installing Google Play Store on windows 11:
Step 1: To uninstall the current version of Windows Subsystem for Android on your Windows 11 system, go to Settings, and click on the Apps tab visible on the left panel. Now, click on the “Apps & features” section. Move down to Windows Subsystem for Android in the apps list. Go to the three-dot menu, and click “Uninstall”.
Step 2: Now, go to the “Privacy & Security” tab available on the left panel. Under “Security”, click on “For Developers”. Turn on the developer mode. When the prompt pops up, press “Yes”.
Step 3: Go to GitHub https://github.com/join, and create an account. Then, head over to the LSPosed MagiskOnWSA page.
Step 4: On the top right corner, tap on the “Fork” button. This process will open up the forked copy in your account in a few seconds. If you lose it, you simply can visit the “Your repositories” option by clicking your profile icon.
Step 5: Once you are on this page, click on the “Actions tab”. You will have to give one-time permission for the workflows to run. Post that, click on the green button which reads, “I understand my workflows, go ahead and enable them.”
Step 6: Click “Build WSA” workflow on the left sidebar. Then select the “Run” workflow button.
Step 7: You will receive a pop-up. Except for “Variants of gapps”, leave all options as they are. Click on the dropdown which reads, “none under it”, and click on pico. Then, choose the green “Run” workflow button.
Step 7: After the task has been completed, a visible orange status marker will turn into a green tick.
Step 8: Press the “Build WSA” task label and move down to the “Artifacts” tab. The Arm and x86 version of the modified WSA package will get ready for you. Select your preferred version according to CPU type to begin the installation.
Step 9: Extract the installed file into a folder, and open the folder. Find the “Install” file option, right-click on it, and press “Run with PowerShell”. Click “Open” as the security warning pops up. If PowerShell asks for permission, click “Run”.
Step 10: The PowerShell may ask you to restart the system. If that happens, then rerun the “Install” file in PowerShell. Once completed, look for the “Windows Subsystem for Android” in the “Start” menu and open it up.
Step 11: After that, turn on the Developer mode in the Subsystem settings. Select “Manage developer settings” for starting the subsystem. Allow/deny the diagnostics data when prompted, and press “Allow access” when such a request is made by Windows Firewall.
Step 12: Google Play Store will be downloaded on your Windows 11 system after a few moments.
Source by www.firstpost.com


