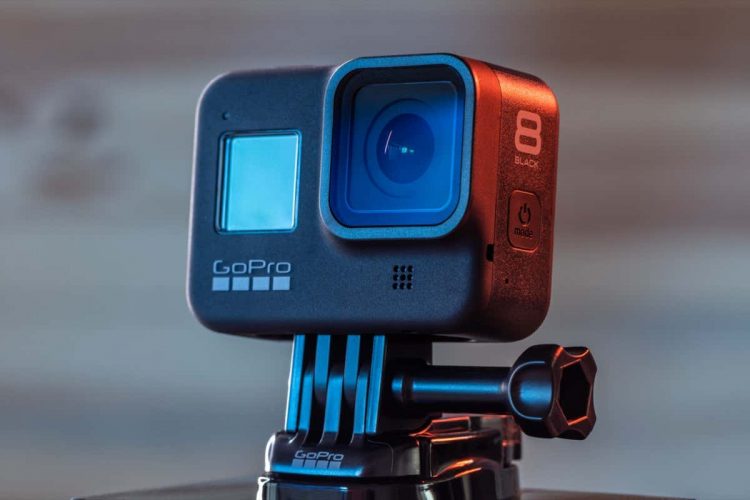
If you own a GoPro, then you know that it’s critical to know how to connect that GoPro to your computer so you can transfer over your videos for editing.
In this article, you’ll learn the three ways you can connect your GoPro to your Windows computer, including using a micro USB cable, a microSD card, Bluetooth or the GoPro mobile app. As a bonus, you’ll also learn how to transfer GoPro videos directly to the internet using the mobile app.
Note: Keep in mind that the steps in this article are for the latest GoPro 10 currently available on the market. If your GoPro is older, some of the steps may vary. Also, the following will work with Mac, but instead of using file explorer, you’ll need to use Finder to see mapped drives.
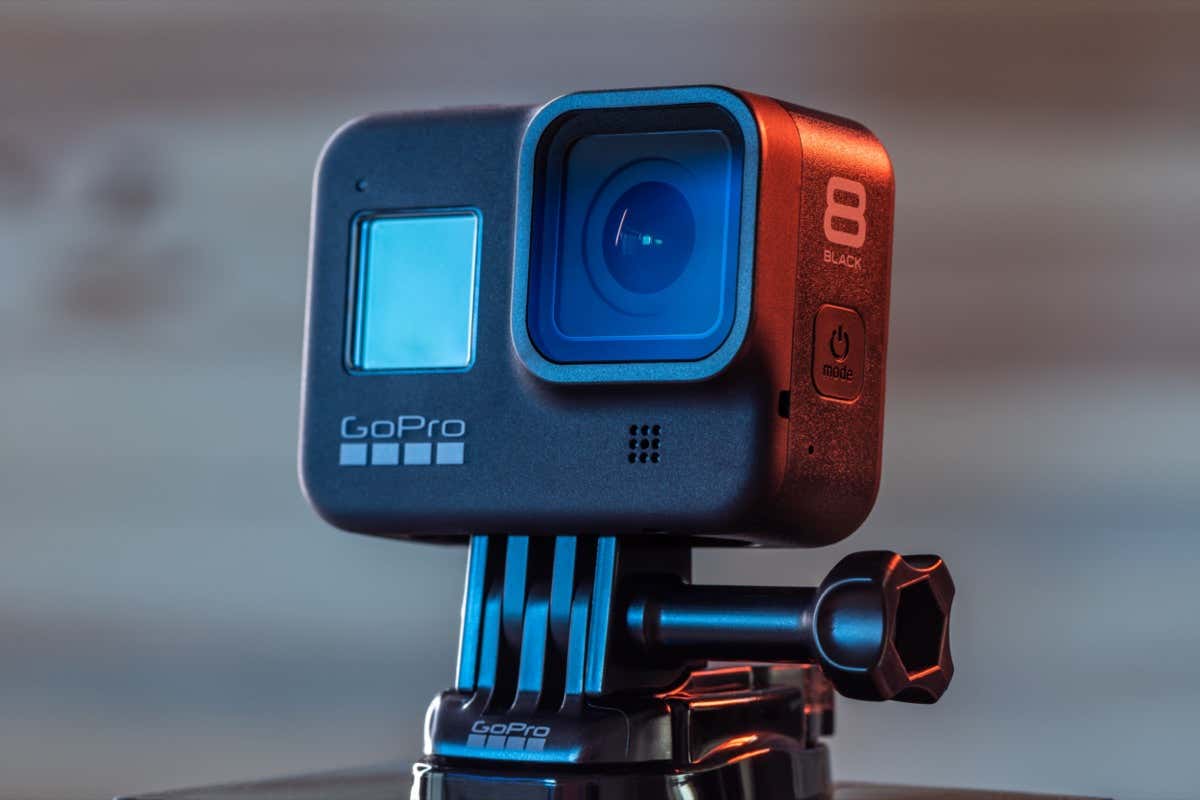
Connect GoPro to Computer Using a Micro USB Cable
The easiest way to connect your GoPro to your computer would be with the GoPro USB cable included with the GoPro. While this may be more convenient, remember that it isn’t necessarily the most efficient.
You won’t have to take the microSD card out of your camera to insert it into your computer, but using a USB cable to transfer videos is a bit slower than doing so with the microSD card. However, you may have no other option if your computer doesn’t have an SD card slot or you don’t have a microSD to SD card adapter.
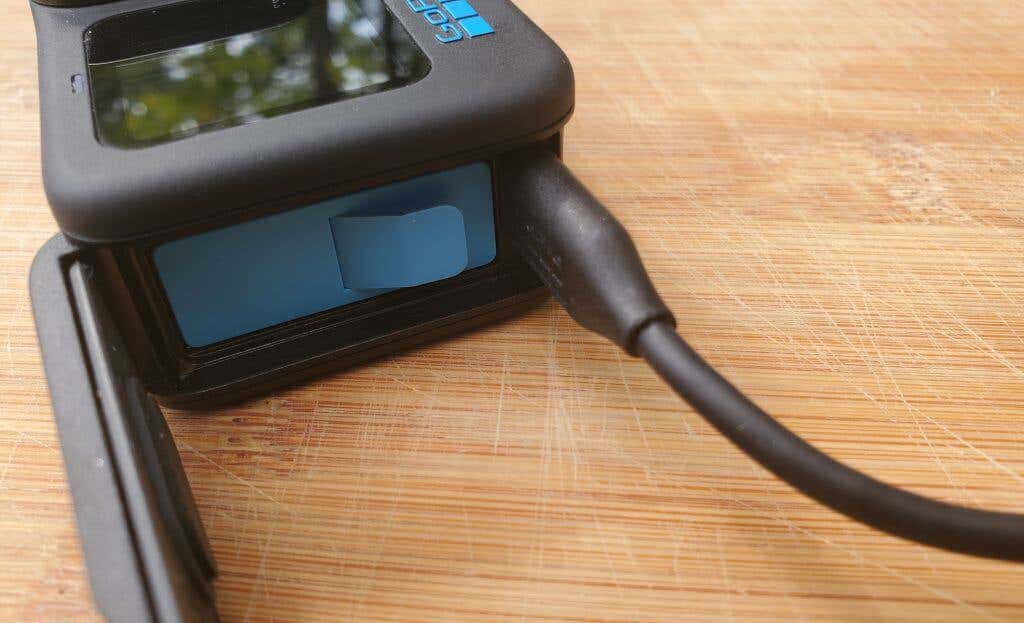
1. Open the battery door of your GoPro and connect the small end of the micro SD cable to the micro SD port near the battery.
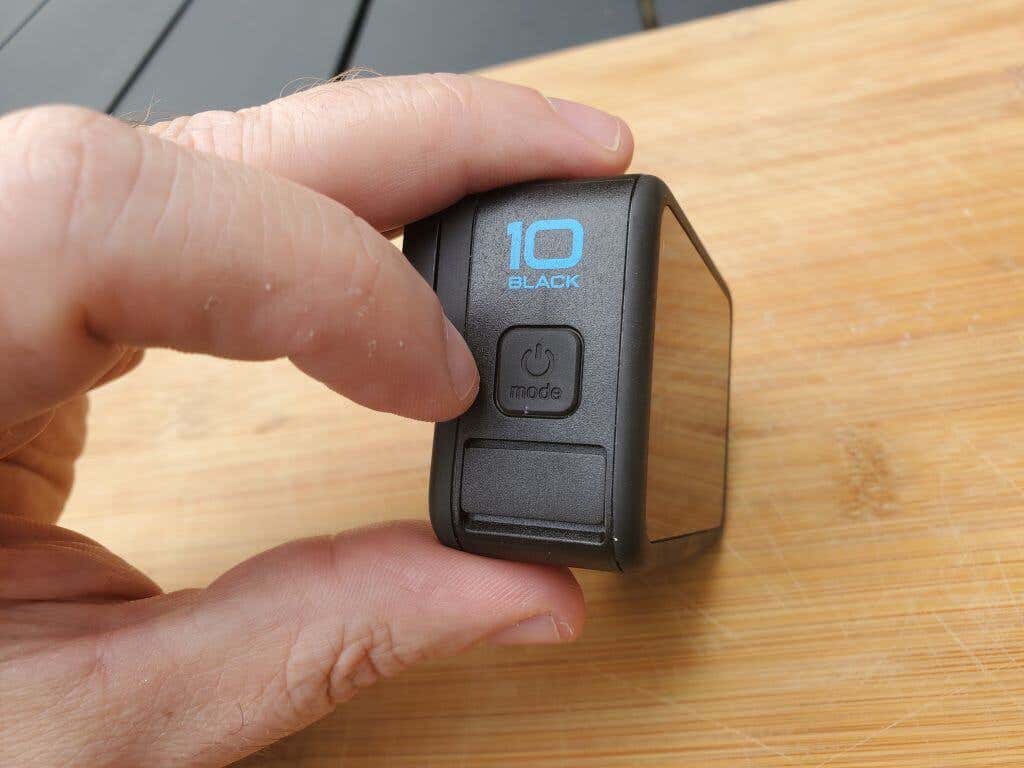
2. Press the power button on the side of the GoPro and hold it down until the GoPro powers up.
3. Plug the other end of the GoPro USB cable into the Windows computer USB port.
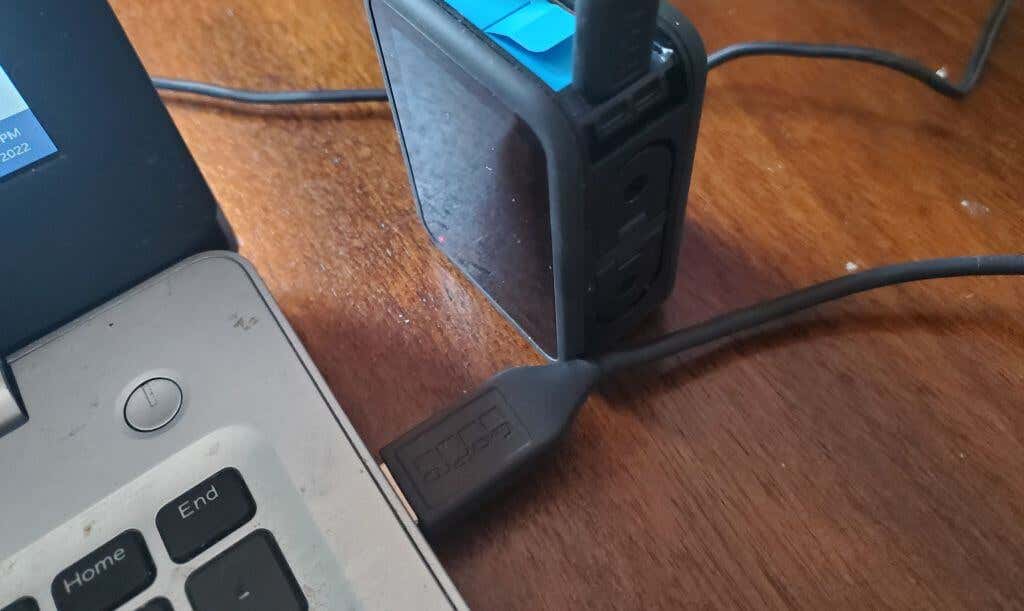
4. Open File Explorer on your Windows PC, and you should see a new mapped drive on the left identified as your GoPro camera.
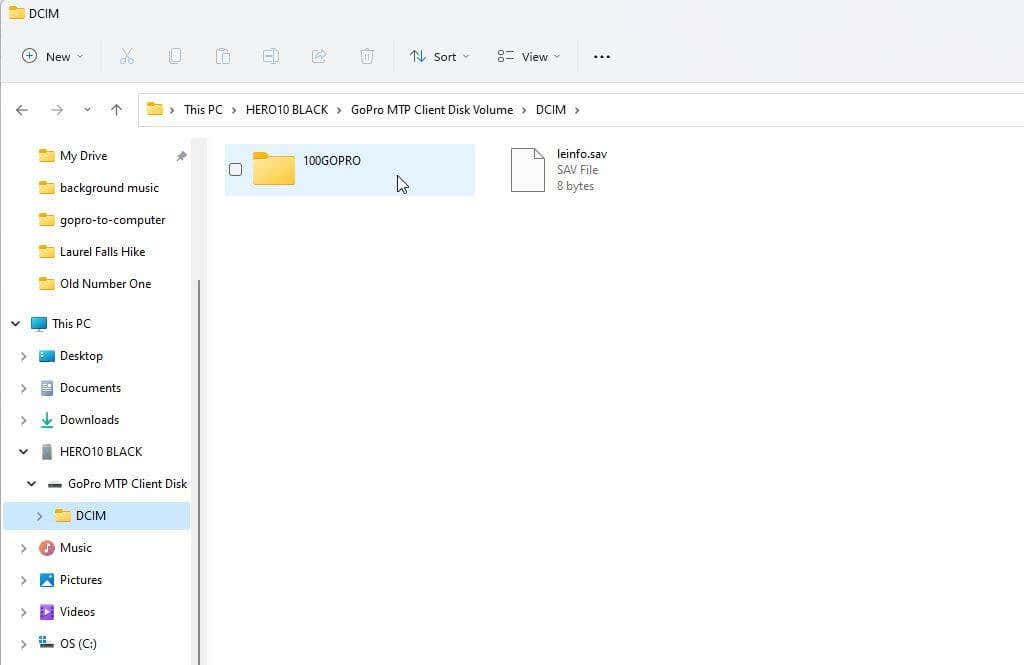
Now you can navigate through the directory structure on the micro SD card in your GoPro to find your videos and transfer them over to your computer. You can find all videos inside the DCIM folder.
GoPro Will Not Connect Via USB Cable
Under some situations, the steps above may not work, and you won’t see the GoPro mapped drive in Windows File Explorer. If that happens to you, try the following troubleshooting tips to fix the problem.
First, unplug the USB cable from your computer and try plugging it into a different USB port. This sometimes causes Windows to recognize the device and create the mapped GoPro drive in File Explorer. Re-plugging the cable can also help GoPro automatically enable USB mode.
If that doesn’t work, try the following steps to enable Autoplay in Windows 11 for your GoPro device.
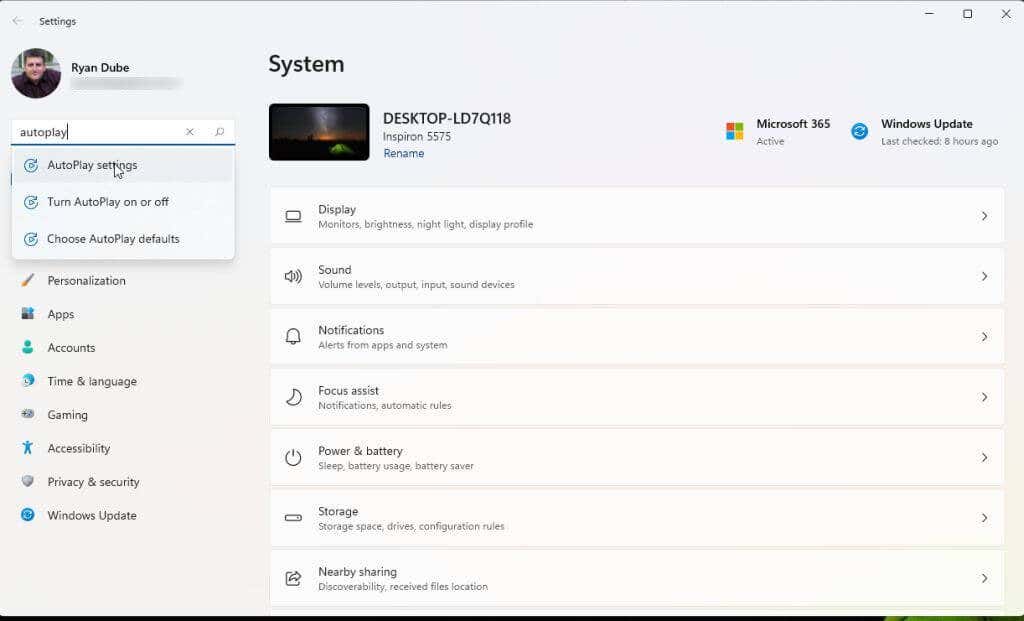
1. Open Windows Settings and type “autoplay” in the search bar on the left. Select AutoPlay settings.
2. On the AutoPlay settings page, make sure Use AutoPlay for all media and devices is toggled to On. Then, for Choose Autoplay Defaults, select the dropdown under your listed GoPro device.
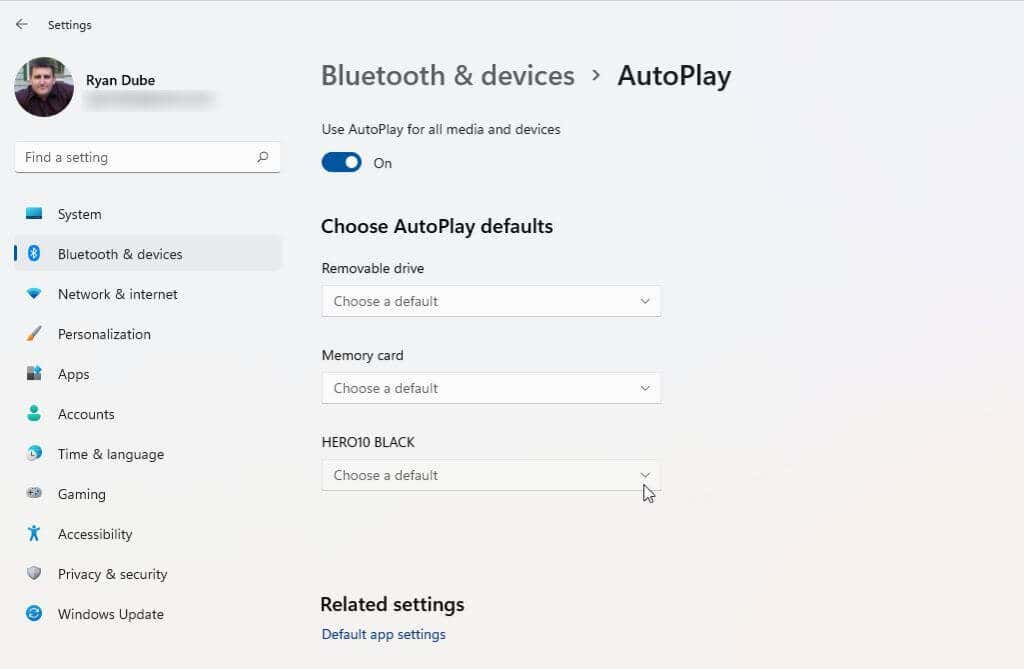
3. Select Open device to view files (File Explorer) from the dropdown list.
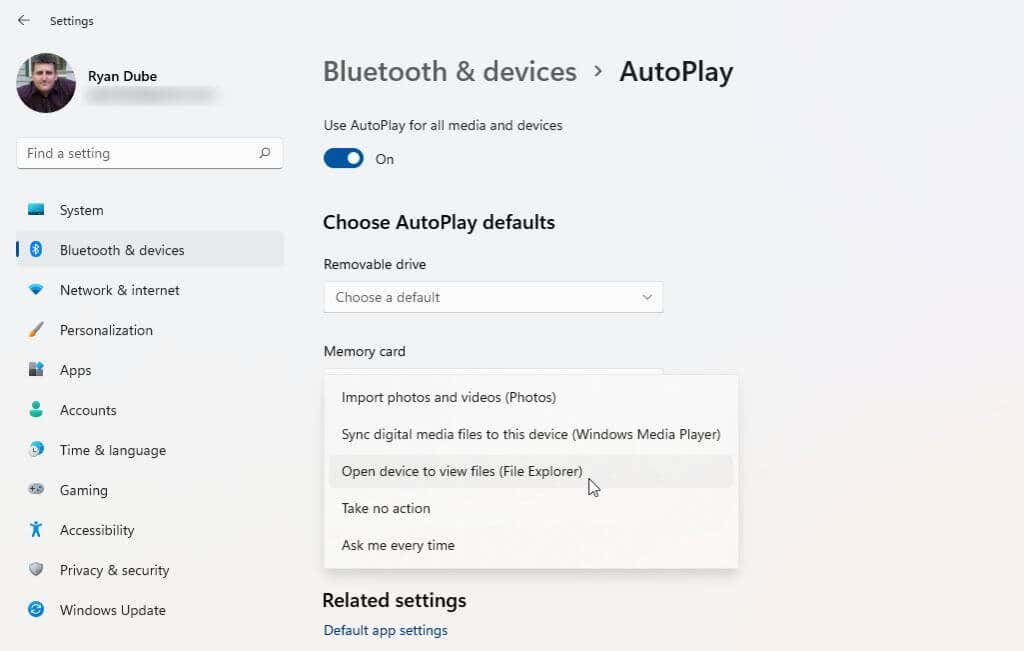
You may need to restart your computer for this change to take effect. Make sure that your GoPro is turned on and connected to your computer via the USB cable, and check if it now shows up in Windows file explorer.
Connect a GoPro to a Computer Using a microSD Card
To transfer videos from your GoPro to your computer using the microSD card, you’ll need to transfer the GoPro SD card to the computer.
There are a couple of things you’ll need for this to work.
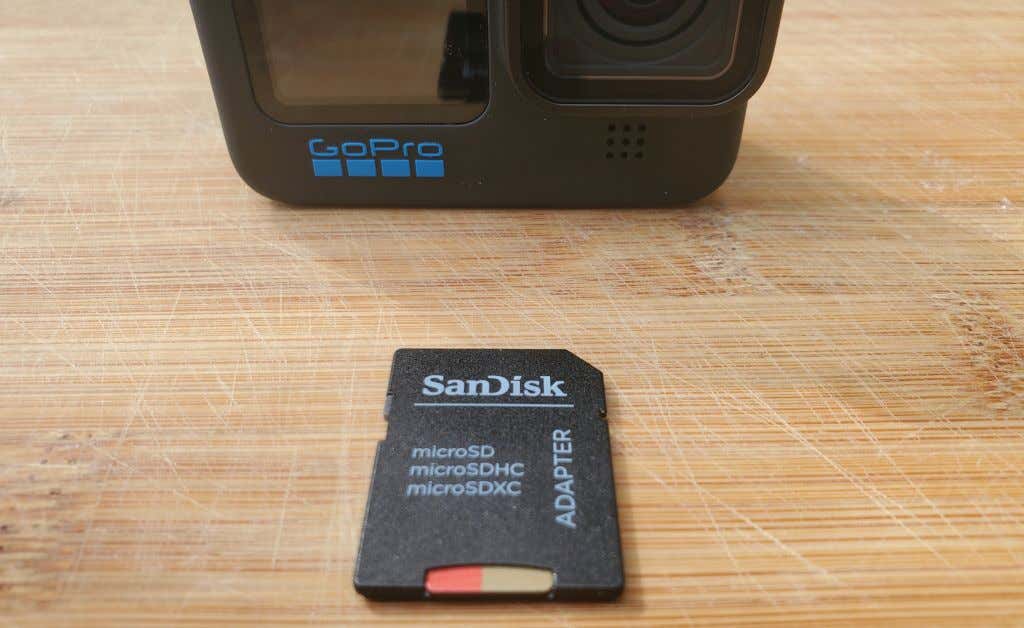
- A microSD to SD adapter that will allow you to insert the microSD card into your computer’s SD card slot.
- A computer with an SD card slot or an SD to USB adapter (an SD card reader).
1. Find the microSD card in your GoPro by opening the battery door and removing the battery. You’ll see the microSD card on the long side of the battery opening. Just press it down gently and release it to eject it from your GoPro.
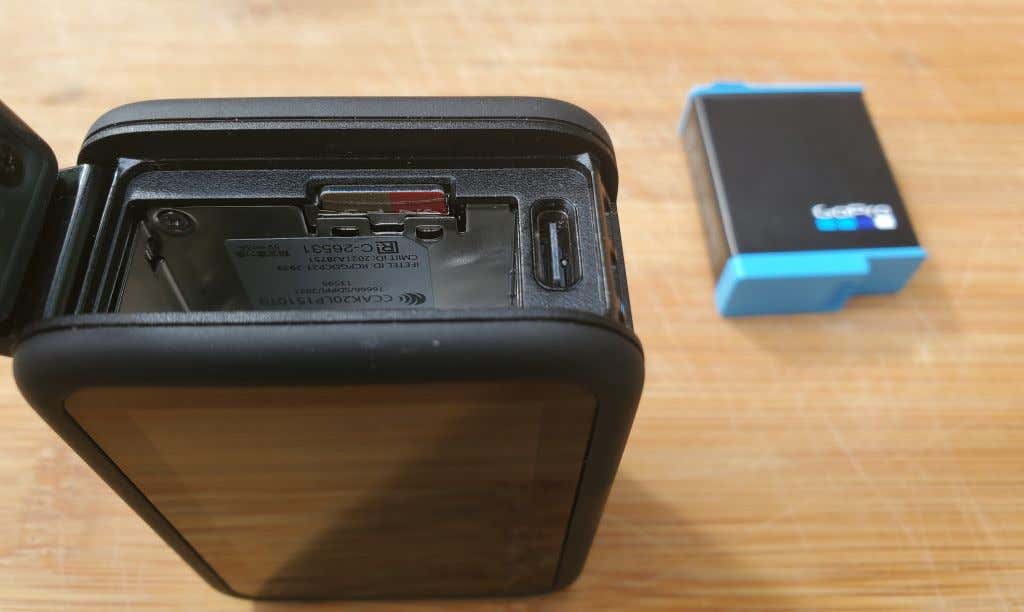
2. Insert the microSD card into your microSD to AD adapter.
3. Insert the adapter into your computer’s SD slot (or the SD to USB adapter).
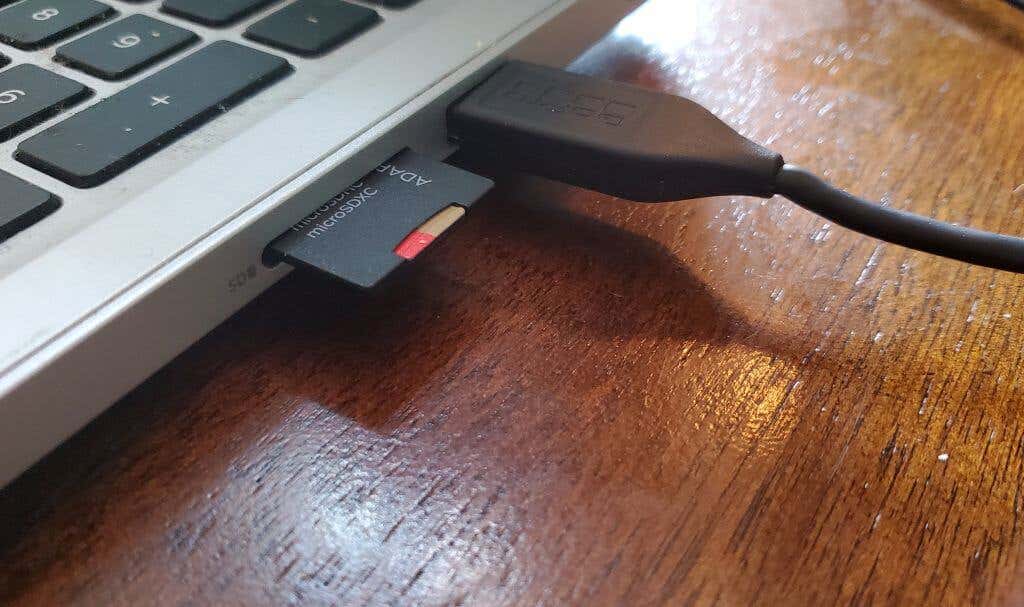
4. Your computer should immediately detect the card (just as it would a normal USB stick) and list it as a mapped drive in Windows file explorer. You’ll see this drive under “My Computer” or “This PC”.
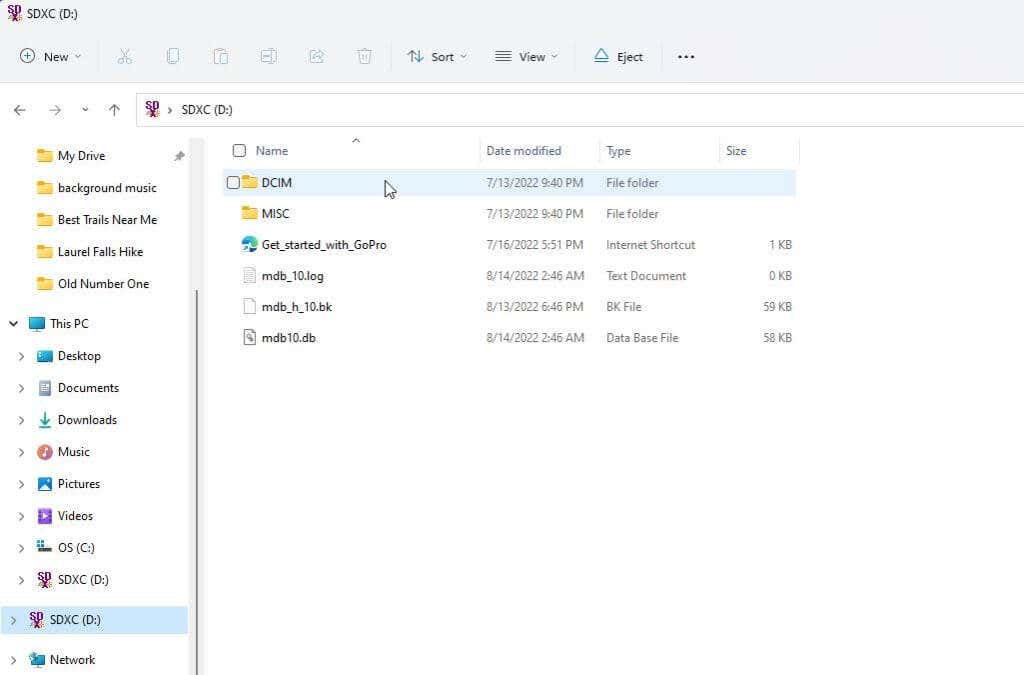
Now you can navigate through the directories on the microSD card, find your recorded videos, and transfer them over to your computer.
How to Connect a GoPro to a Computer Via Mobile App
You can download the GoPro Quik app for your Android on the Google Store, or for your iPhone on the Apple Store.
This GoPro app lets you connect to and control your GoPro via your mobile device. It’s an awesome app and has lots of great features.
The important feature for connecting your GoPro to your computer is the ability to extract videos directly from your GoPro device. This will be especially useful if you have no way to transfer files from the microSD card, and you can’t get the USB connection to work.
1. Once you’ve installed the GoPro Quik app and launched it, you’ll need to select the small icon of a GoPro camera with a plus sign. Walk through the wizard to add your new GoPro device.
2. On the main page, select the Media icon at the bottom. Select App on the next page. Then select the video from your GoPro that you’d like to download to your phone. Select the Export icon at the bottom, and then tap Save to phone.
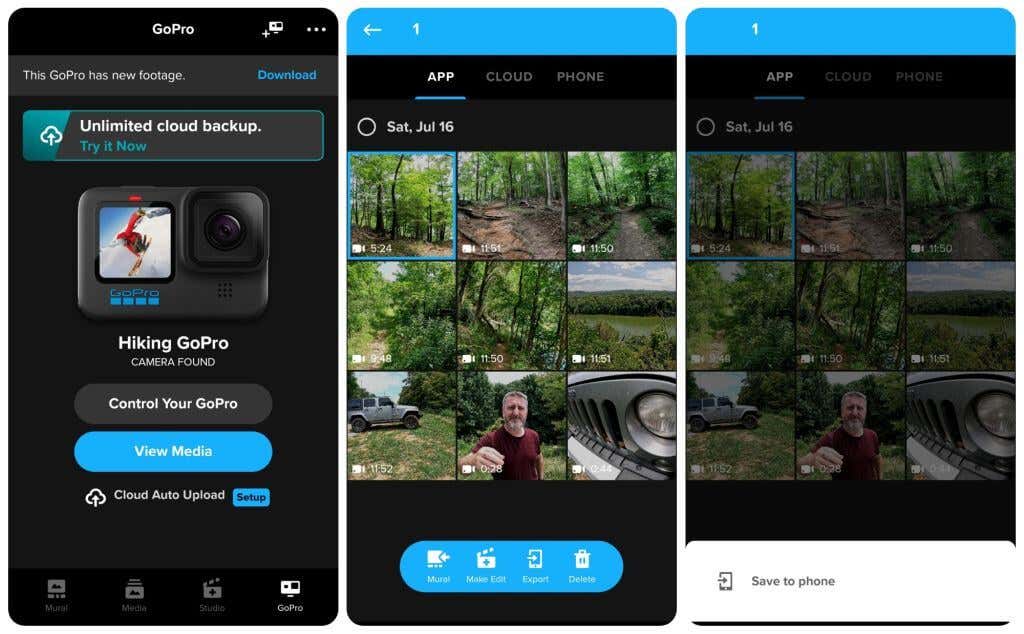
3. Once you’ve saved the app from your GoPro to your phone, you can transfer it to your computer via the cloud. Open your Gallery app, view and select the video you want to transfer, and export it to the cloud storage service of your choice.
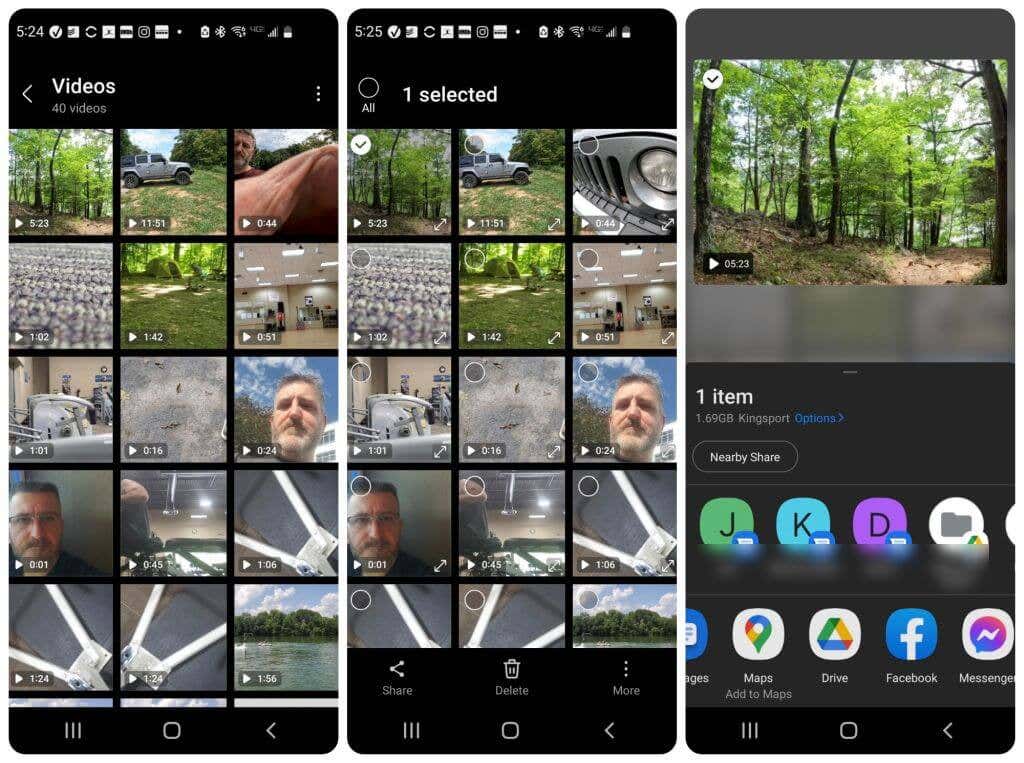
4. Once you’ve transferred the video to cloud storage, you can then connect to the same cloud storage account with your computer and import the video.
Note: A faster transfer option to move the video from your phone to your computer might be doing a Bluetooth file transfer, or connecting the phone to your computer via USB and skipping the cloud option entirely.
Now you know every option available to connect your GoPro to your computer and transfer all of the videos you’ve captured. Do you have another approach to transferring GoPro files to your computer?
Source by helpdeskgeek.com


